There is a particular silence that follows a show coming down. The work is wrapped, the van is returned, and you finally scroll through your camera roll to find eleven photographs of a wall, two of your own shoes, and nothing you would be happy to send to a gallery. Documentation rarely fails for want of effort. It fails for want of a plan made before the day.
Fifteen images, shot with a little intent, cover almost everything: the exhibition, the studio, the making, and you. Here is the list, along with the practical detail that makes each frame usable rather than merely taken.
Arrive an hour early. Lights on, floor swept, coats off the plinths, invigilator out of the frame. This is the only moment the room will look like a room rather than a party, and it is worth protecting.
Start with two wide shots, one from each far corner, camera at chest height and held level. Keep the verticals vertical; a slight tilt makes the walls look drunk. Then work around the room and photograph each piece square-on: stand directly in front, parallel to the wall, fill the frame with a small margin around the work, and check focus at 100% on the back of the camera before moving on. Raised texture needs light coming in from the side rather than straight on, so move a lamp until the surface describes itself.
Finish with the details that date and credit the show — the wall text, the label, the exhibition graphic by the door. Get them sharp and readable. You will want them in eighteen months when you cannot remember the title of anything.
Private views are dark, crowded and fast. Do not try to record everything. Aim for five or six frames that carry the atmosphere, and shoot them in the first forty-five minutes while people are still circulating.
Push the ISO rather than the flash. Direct flash flattens a room and makes everyone look like a suspect. If you must use it, bounce it off a wall or the ceiling. Shoot a wide from the corner that shows the room half-full, then a mid-frame of a small group actually looking at something, then the artist mid-conversation rather than posed against a wall. A close shot of someone reading a label does more for a show than a dozen glasses of wine.
The studio is where most portfolios are thinnest, which is a shame, because the mess is often the most interesting thing about the work. Two kinds of image carry the weight.
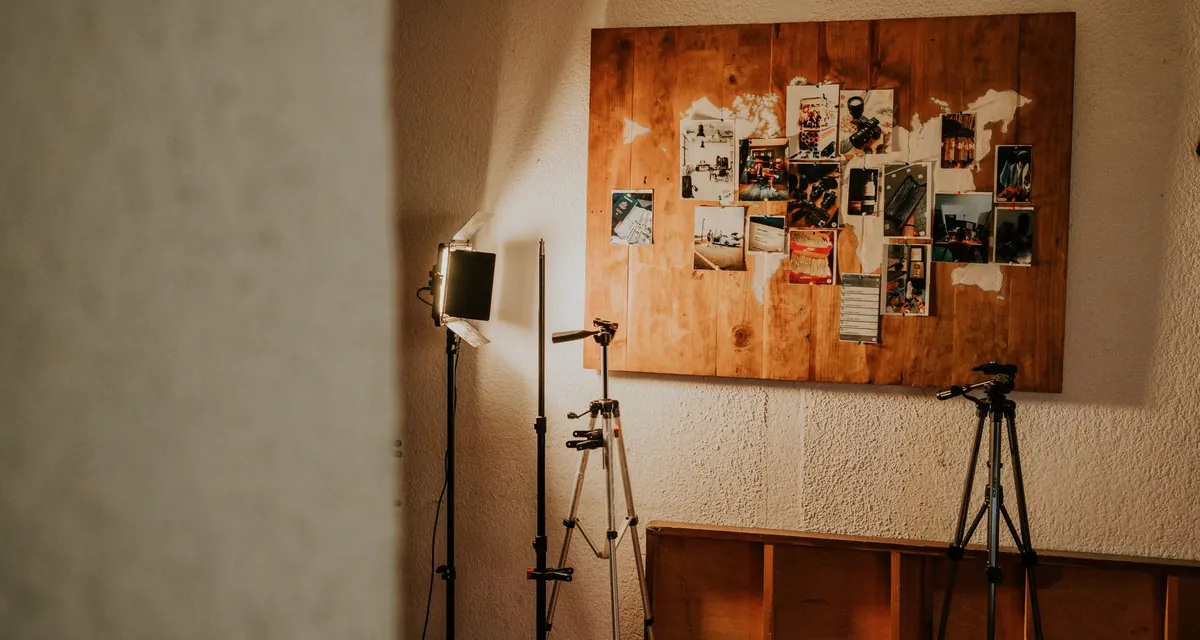
Shoot from the doorway, at standing height, before you start cleaning properly. Leave one or two things mid-task — a scalpel, a sketch, a mug — because they tell a reader that work happens here. Remove the biscuit wrapper, keep the personality.
Photograph at the awkward middle stage, not just at the end. Hands in frame give scale and life, and you do not need to look at the camera. Then slow down for a material close-up: the grain, the weld, the weave, the third layer going down. These are the frames that make a viewer believe you made the thing.
You need one image where your face is clear enough that someone could pick you out of a crowded room. Stand a metre or so away from a plain wall rather than flat against it, or you will cast a shadow the shape of your own head. Use soft window light, shoot at eye level, and frame vertically with a little headroom.
Then take a second, environmental portrait in the studio: three-quarter length, hands busy, looking away from the lens. Two versions will cover a press release, a website and a grant application. Shoot them in the same session with the same lens and light so they sit together properly on an About page.
Photo: Amar Preciado / Pexels